How to Avoid a Bridal Makeup Disaster – Expert Advice
Written by Fairy Bride Mother on March 1, 2020.
Tagged under: BRIDAL BEAUTY, BRIDAL MAKEUP, Bridal Makeup Artist, laure sejean
You might be able to forgive and forget these kinds of make-up disasters for a birthday brunch, a work conference or a night out with the girls, but not for YOUR wedding…Below, our resident bridal beauty expert Laure SeJean, shares her pearls of wisdom.
Before The Big Day
Once you’ve found an MUA (makeup artist), schedule in a trial to test the looks that you’ve seen in their portfolio, on you. Not all applications look the same per person so you’ll want to make sure that the famous Kohl liner on Kate Middleton will look just as understated and class on you as it did her before you’ve run out of time. For more on this, check out my article on how to choose a bridal makeup artist here.
STEP 1: A Blank Canvas
Once you have chosen your makeup artist make sure that you discuss and agree about how they will prepare your skin along with the looks and products that they’ll use on you.
A barefaced lie! Makeup should never be applied on a bare face – When starting your skin’s preparation, it’s essential that you use skincare products tailored to your skin type. A good starting point to instantly rehydrate that’s suitable for all skin types is ‘Ultra HD Skin Booster’ by MakeupForever.
STEP 2: Moisturise Your Skin
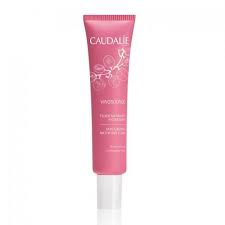
- Oily skin – use light products that will help to control the production of your skins oil production throughout the but still hydrate without saturating, like the Caudalie Vinosource Moisturizing Mattifying Fluid.
- Dry skin – If your skin is dry, use richer products like the Charlotte Tilbury’s ‘Magic Cream’ or Embryolisse Lait’s ‘Crème Concentré’.
- Normal-dry skin – Use Caudalie Vinosource’s ‘Moisturizing Sorbet’ or Marc Jacobs’ ‘Youthquake’ to give your skin a second life!

STEP 3: Prime!
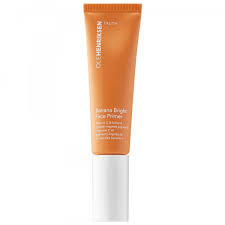
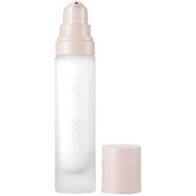
Wait a few minutes for your skin to absorb all of the amazing ingredients before moving on to a primer that should also be chosen based upon your skin type. My current favourites are Fenty’s ‘Pro Filter Primer’ as it’s lightweight with one for each skin type (True Matte for oily skin, Soft Silk for dry to normal). And if you like to bring the brightness out of your skin, you can go for the new Ole Henriksen ‘Banana Bright Face Primer’ or MAC Cosmetics’ ‘Prep+Prime Natural Radiance’.
STEP 4: Throw Some Shade
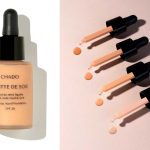
What’s your type? Just like your preparation products, your foundation should also match your skin type and most importantly, your skin tone.
Keep in mind that some foundations can oxidize. What that means is that it may change shade after a while. This is a chemical reaction based on the foundation, the individual’s skin and the air.
So, before going full-face, apply some foundation on the lower part of your cheek down to the neck, leave it for 2-5mins and see how the foundation reacts. That should give you a good indication of whether to go with the same shade or go with one shade darker/lighter based on how it oxidizes on your skin.
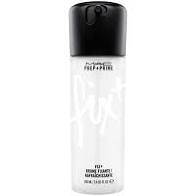
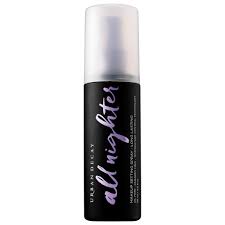
Set for Success? Ask your MUA to use a setting and a fixing spray. Some are universal and some are made for different skin types. My favourite ones are MAC Cosmetics’ ‘Fix+ Spray’ as it rehydrates and fixes the makeup at the same time
(they have a Matte version for oily skin or when the weather’s hot) and Urban Decay’s ‘All Nighter Spray’ which works for all skin-types & really will keep your makeup in place forever!
STEP 5: Windows To Your Soul
Remember, no panda eyes! So make sure you use waterproof mascara. My all-time favourite is Lancome’s Waterproof ‘Hypnose Drama’. It curves your lashes whilst staying put, it doesn’t smudge and won’t budge during those moments where only tears of joy will do.
STEP 6: Plump Those Pillows
Here are a few tips to ensure that your lipstick will stay fresh for hours without flaking:
- Make sure your lips are fully hydrated before applying anything to them (drink lots of water and use a good balm).
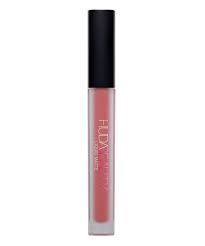
- For longer-lasting, I love applying a lip pencil first then the lipstick. Another tip is to first apply a lip stain and then your lipstick. My favourite lip stain that won’t let you down is the Huda Beauty ‘Liquid Matte Lipstick’ or one of KatVonD’s liquid lipsticks. Both products are amazing! Their colour doesn’t bleed, fade or feather!
- Going back to their hydration, I like to apply a product that will support the moisture of your lips such as Charlotte Tilbury’s ‘Matte Revolution Lipstick’. You can always apply some gloss, but with moderation! It may make the lipstick move around a bit.

The Three Bride Savers
I can’t stress this enough! Don’t forget to take these three 3 products with you – give them to your maid-of-honour, tuck them into your garter belt or tape them under your table, because these will ensure you maintain the flawless look you started with:
- Lips – have a lipstick of the same shade so that you can make touch-ups whenever you want.
- Pressed powder – this will ensure no-shine moments that are camera ready and will especially come in handy if you have oily skin.
- Concealer – For refresh the inner corner of your under eyes.
Lastly, have a wonderful day filled with memories to cherish for the rest of your lives together and stories to tell the grandkids J
Till next time Bride Clubbers – Laure Sejean x






Leave a Reply